Choosing the correct channel drain cover for your specific project can significantly extend the lifespan of your surface and foul water drainage systems. There are a number of variables to consider when choosing covers and grates for surface water drainage, foul water drainage, and industrial wastewater systems.
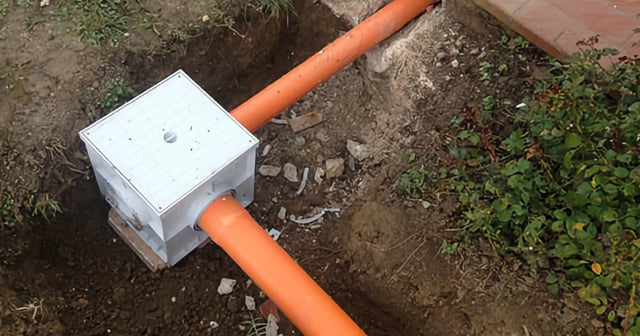
Linear channel drains within a drainage system allow rainwater to be managed and directed efficiently. Usually built along roads and sidewalks, channel drains are also used for a variety of different purposes. However, without an adapted cover, all types of drainage channels risk blockage from debris like leaves and sticks.
For this reason, covers and grates are placed on top of channel drains to trap debris and ensure the flow of water.
Channel drain covers come in a variety of shapes, sizes, and materials. These characteristics have been developed and evolved over time to make them increasingly suitable for specific purposes. Plastics like polypropylene (PP), HDPE (high density polyethylene), cast iron, and galvanized steel have been shown to be the most effective materials for channel drain covers.
Manufacturers have introduced a variety of types of gratings in their catalogs to adapt to the specific needs of the construction industry. In addition to the technical and practical qualities for efficient drainage solutions, aesthetics are also considered in particular for drains placed inside the home.
Channel drain covers are chosen based on their typical use
The characteristics of the channels and covers needed are entirely up to the typical use they will undergo. Of course, the European Standard EN 1433:2008 provides legal guidelines for the technical specifications of load classes and grate strength, and rainwater drainage regulations in the UK follow similar guidelines.
Domestic drain channels
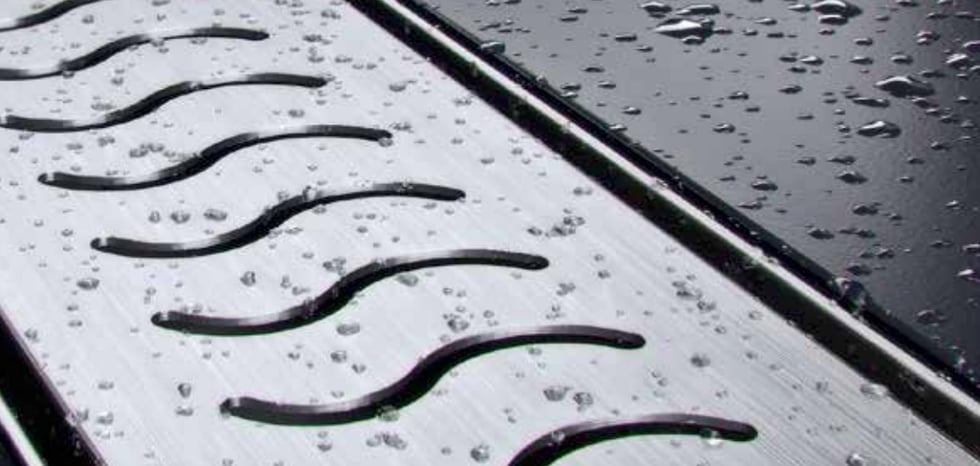
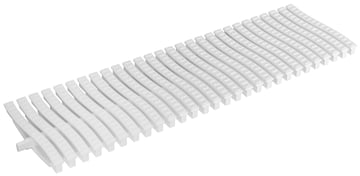
Grates with a heel proof mesh are a recommended type of channel drain cover for domestic uses like garden drainage channels. Equipped with a fine mesh that helps keep debris out of the channel, heel proof grates are designed to prevent high-heeled shoes from getting caught in them.
Also known as heel guard grates, heel proof trench drain grates can also be used as swimming pool gratings, although there are better grates for the poolside. Some grates offer a perforated grid while being adjustable in shape, which allows for a controlled water flow and a less slippery surface.
Drive over drain grates
In the case of light vehicular traffic, which means more weight and mechanical stresses, a higher loading class grate is required.
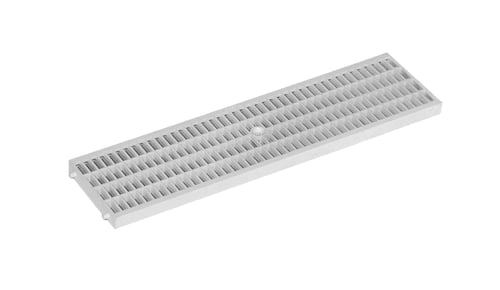
Drive over drain grates are used where there are pedestrian precincts, light vehicles, and in private car parks. Polypropylene gratings offer great benefits for areas with pedestrian and cyclist traffic.
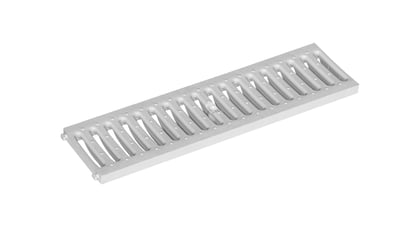
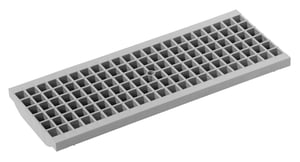
Where there is more frequent traffic from light vehicles like small cars and motorcycles, a solution is a galvanized steel grating with a 33x33 mesh that is particularly resistant to pressure and chemicals.
Specific cases: industrial drain grates
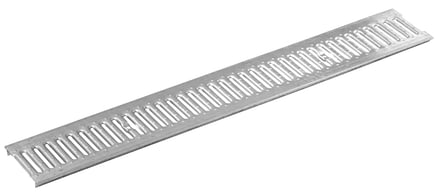
In case of direct contact with chemicals, corrosive substances, or even repeated exposure to atmospheric agents, stainless steel grating can provide resistance to erosion while providing the same benefits of its plastic counterparts in terms of drainage capacity.
On the other hand, to fully protect cabled sections or to simply divert water to a different channel, a full channel drain cover should be used.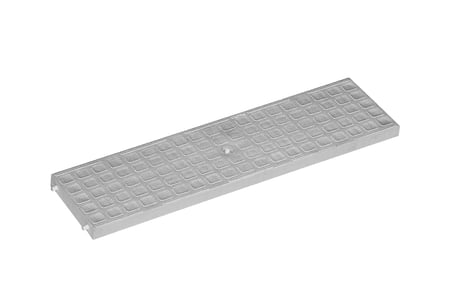
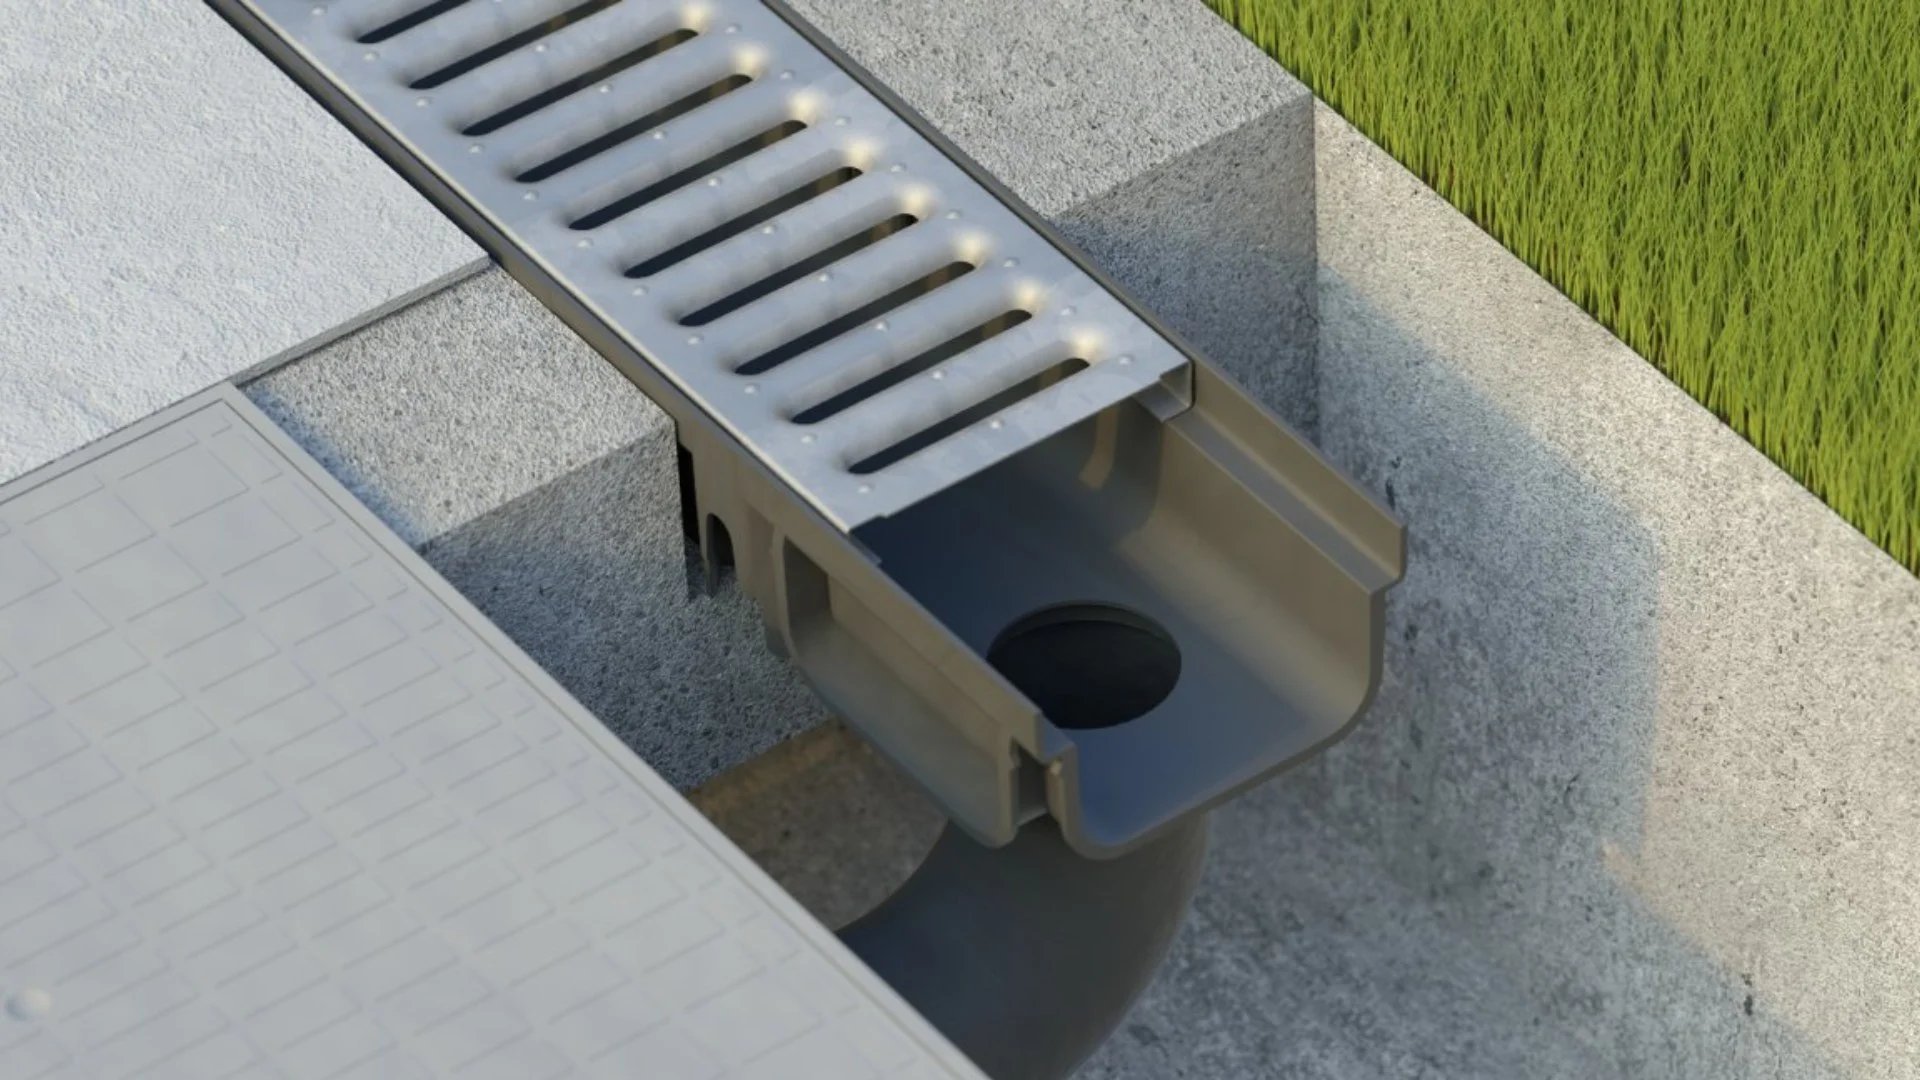
The ease of channel drain installation
One major advantage of channel drain systems is their ease of installation. Drainage channels and their covers and grates are supplied prefabricated within functional systems, so they do not require any complicated installation.
Each use and project requires its own plan and installation, but there are a few points to keep in mind when installing channel drainage systems:
- The uppermost point must always remain level with the sidewalk or surface at the end of the installation.
- The concave part of the grates need to be turned upwards so as to make the water flow into the drainage channel.
- A certain slope is necessary for water to properly flow within the channel. This slope should account for a 5mm fall for every 1m of channel drain length at a 1:200 ratio.
- They are furnished in standard sizes but, if necessary, channel drains and their grates can be cut to length. Use any section that requires cutting to length at the highest point, furthest from the drain outlet.
- Wait 72 hours before putting weight on the concrete or moving the drainage channel grates to avoid damaging them.
- Remember to always keep the channel drains clean and clear of any debris.
How to remove a channel drain cover
Removing a channel drain cover may be necessary to clean and maintain the channel. Because channel drain grates and covers usually do not have any protruding bits built into them for their removal, removing a channel drain cover can be confusing.
However, channel drain grates and covers usually have little notches on their sides or at the center on which you can use a flat tool like a flat head screwdriver and lever the cover off the channel. There should be no signs of damage since these components are made of durable materials.
Need more information? Read our full guide on how to install channel drains and our guide ondrainage flow rate calculation.
Dakota Group is a building materials supplier that serves primarily the EMEA region. As a leading European supplier of building materials, we offer a range of drainage supplies that work together within highly performant systems. We have established ourselves as a reliable drainage supplier, with over four thousand customers having chosen our products.
What are the components of a high-performance drainage system?
Download our free guide!